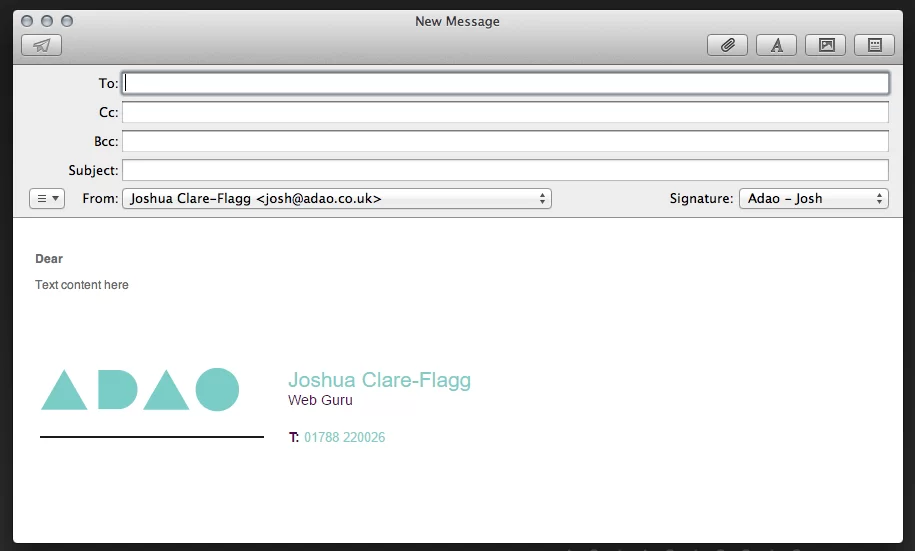
Here at ADAO, we love to make things as beautiful as possible. Our emails are no exception. We all have custom designed and built HTML signatures. An example of one of our email signatures is below:

So how have we added our custom HTML signature into Mac mail? It is quite a tricky process, but let’s go through it…
Step one is to get your HTML coding sorted. Once you have coded it up copy so it is ready to be pasted.
You can do this by Mail > Preferences > Signatures > Click on the + Button at the bottom of the list, and name it. You can leave the default content in, as we will be overriding it with our custom HTML.
This is important! As if you leave it open it will just override your new code you will paste into the signature file.
Click on your desktop so you get Finder in the top left of the screen. Then hold down the Alt key and click on Go, then click on Library.
Then go Mail > V2 > MailData > Signatures. In this folder are the list of all your signatures, as a “webarchive” file, with a file extension of .mailsignature. They are all named in a way that you can’t tell which is which, so sort by date and find out which one you have just created. In my case, it’s the second file in the list shown below.
Right-click this file and open with “TextEdit”. You should see something like this:
Then save the file and close it.
You will need to lock this file so Mac Mail doesn’t override it. Right Click it and select “Get Info”. Then check the “Locked” box.
Open Mail and go to Mail > Preferences > Signatures and now select your new signature. You can then select it to be your default signature for new emails by selecting it in the dropdown select at the bottom of the same window:
Although it can be a little tricky, we hope that this straight-forward guide will help all those in adding a custom HTML email signature in Mac Mail v6.5.
As lovers of all things Mac (and Windows & Linux), please feel free to get in contact with ADAO for any questions you may have.